


In fact, I made this dress weeks ago and have been wearing it regularly (i.e. every weekend) since then, but haven't got around to photographing it until now. These photos were rushed phone ones, since when the light was right and I chose the lest heinous wall in our house (in front of our beautiful winter scene, an interim measure), the dress had been well worn and was not really looking its best. Never mind, I'm just delighted to have finally got the pictures to accompany the draft blog post I started ages ago.
Pattern
I considered a few options before I decided on Marilla Walker's Dungaree Dress from the Roberts Collection (view C) in shorter length. It has pockets and fastens at the side.
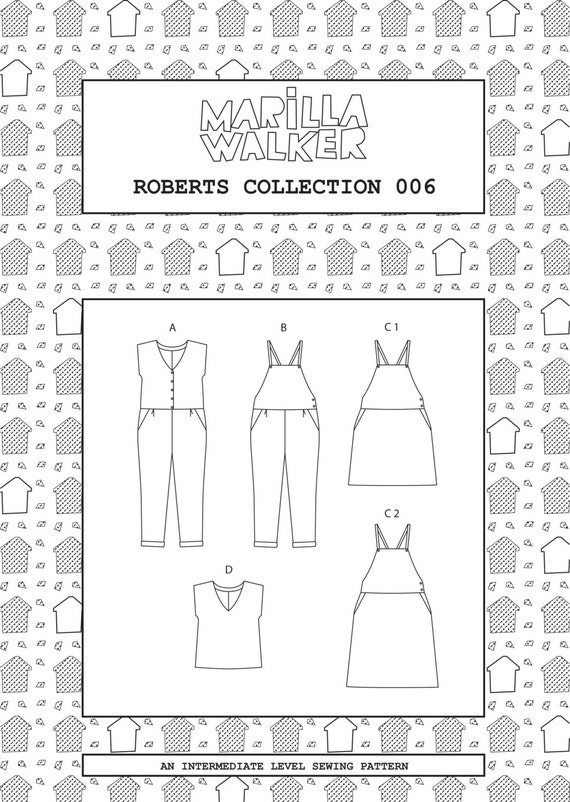
I liked the contemporary, simple look of this pattern, with the thin straps which look more elegant that the traditional dungaree dress fastenings.

The denim was a charity shop purchase, with bib lining and pockets in blue and white cotton left over from my disaster Inari dress. I also bought antique bronze snaps to use with my Prym Vario pliers. I used two snaps on each side as I ended up attaching the first a bit low, but I like the look of it. I also decided to change which way the fasteners went, so had to ply out the first lot, hence the interfacing reinforcement on the back of the bib, as see above.
Pattern alterations or any design changes


I'd not used a Marilla Walker pattern before - despite printing and cutting out the pattern for her tights at the end of 2015, moving house got in the way of my good intentions and the project was shelved. I did find myself puzzling over some of the instructions as the steps don't all include illustrations. Using the pattern really underlined to me how much of a visual learner I am - I am terrible at imagining things like instructions and thinking ahead without a visual or demonstration and therefore have to really rely on the textual directions, so I do struggle if they aren't absolutely clear to me. I think I'd make a good proof reader for sewing pattern instructions! I've just faced a similar issue in the directions of another pattern company recently too, where I have had to email them for clarity, so it's not just this pattern that had me scratching my head!

I really liked the neat finish achieved by the lining of the bib which allows you to get clean finish without having to really think about it. Bonus! Overall, using the pattern was a really interesting lesson in reading instructions for me as I have become very used to a certain type of instructions so there were some things I liked but others I found more challenging.
Would you sew it again and do anything different next time?
I would definitely sew it again - in fact I have already cut the pieces for my next one. Next time I would taper the waist before I cut and sewed the fabric instead of doing it on the fly. I would maybe shorten the straps a tiny bit too as I ended up doing the double popper thing, which makes a nice feature but wasn't my original intention
Would you recommend it to others?
Definitely, and I think it's good value for money as a collection.

Fabric £8.99
Pattern £8.40
Snaps £8.00
Thread £1.55
Total - £26.94

Conclusion
I really, really love this dress - it is so comfy to wear as well as practical. I wear it basically every single weekend.
K x


Looks really comfy and I like the double fasteners!
ReplyDeleteCheers - I think the fasteners have ended up being a nice feature
DeleteIt looks very good on you. I started making this dress last weekend and had to set it aside as I was having similar struggles with the instructions. I am intending to finish it soon though as a bit of googling has given me more confidence in knowing how the button tab should look and be constructed. Well done.
ReplyDeleteLisa
Good luck Lisa - and now you know that the tab isn't supposed to look like mine! I had trouble finding images showing the side when I was making mine and hopefully I will get it right for the next one
DeleteI can see why you wear it every weekend - it looks fab, and so comfortable. You've inspired me to sew with denim again now! x
ReplyDeleteCheers Jane, I love that you can wear denim all year round, so versatile
DeleteHa, I think I could join you as an instruction proof reader, I've been having a few sewing disasters due to misunderstanding them. Lovely dress, I'd like to make something similar.
ReplyDeleteOh dear - it's such an artform to write instructions isn't it?
DeleteYour dress looks great Kerry!! And I always think it's a good sign when you wear something so much you forget to take photos of it. I love the vintage snaps you've used.
ReplyDeleteThanks! I have another 3 items that need photographed so am hoping I will be able to do that this weekend, and get them blogged at long last.
DeleteI really like the dress. It's perfect for weekend errands running around. You did a nice job on it.
ReplyDeleteThanks pattyc! x
DeleteLovely! I can see why you wear it so much and have got another one cut out; it's a real 'go to' dress.
ReplyDeletep.s. Love the snow scene!
Thanks Elaine. Yes, the snow scene is lovely isn't it - a nice alternative to the wall with the horrible weird black stripes we found underneath
DeleteThis is lovely. I particularly like the back of this pattern, where the straps meet in that lovely "v" shape. Good choice, and I very much doubt anyone will notice the side bits!
ReplyDeleteCheers Helen, yes the straps are a bit more elegant aren't they?
DeleteVery cute!
ReplyDeleteThank you Philippa!
DeleteIt turned out brilliantly! They're a great shape, much more elegant than those 1980s things I keep seeing teens at vintage fairs wearing.
ReplyDeleteI read the instructions out aloud to whoever's listening - usually a cat or two. it takes ages to absorb the information. xxx
Cheers Vix!I should try reading the instructions out to the cats next time too :)
DeleteI always love your fancy linings and trims!
ReplyDeleteIt's a great way to use smaller bits and pieces of fabric (of which I have a lot...)
ReplyDelete